Outdoor showers are the perfect backyard amenity for summer. Whether you need a spot to clean up after taking a dip in the pool, going for a run, or catching some waves at the beach, outdoor showers have you covered with easy convenience and a resort-style feel. However, there are a few considerations to keep in mind before rinsing off! Our Austin architects share what you need to know before building. Prepare your backyard for summer with these eight shower design tips.
Outdoor Shower Enclosures and Curtains
There are different options for enclosures: you can choose to have a completely open shower, a curtain, or put some walls up to offer an enclosure. If you would like to add privacy to your shower space, a shower curtain can be a great option and will give you that extra degree of security.
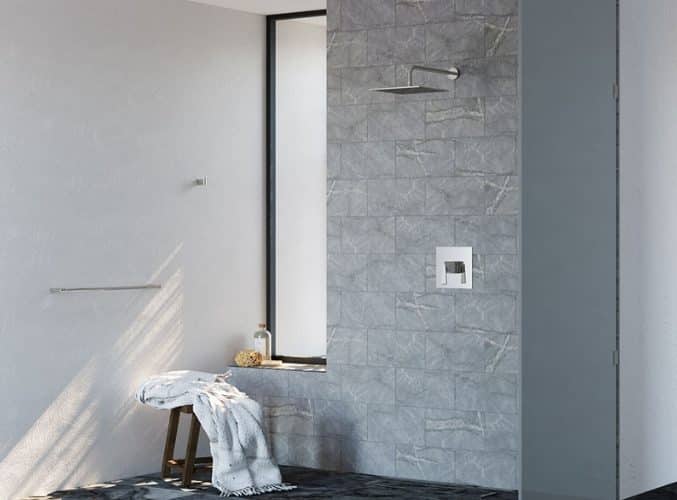
A more modern and luxurious option will be an open enclosure around your shower that offers a degree of privacy but also ensures that the shower is easily accessible. Outdoor shower enclosures are a great choice if you want to install storage around your shower to keep bathroom essentials close with wall-mounted storage. Check out the shower enclosure below for some rustic outdoor shower design inspiration.
Outdoor Shower Accessories
If your outdoor shower has some walls around it, it’s a great idea to install a couple of shelves or pop some caddies on the walls to store your shower products. Most shower gel and shampoo bottles are water and weather-resistant so will be fine kept outside – unless of course, you’re due to a storm or frost!
Other great shower accessories include waterproof speakers, hooks to hang towels on, a mirror, mosaic tiles, an aesthetic pathway, and some plants to go around the space. These elements will help to create an inviting, modern sanctuary.
Flooring
“We recommend going for mosaic tiles for your outdoor shower floor, as they’re non-porous, anti-slip, and will also look great in a garden setting. You can also go for other flooring options such as concrete and stone tiles, as long as you ensure that these materials are slip-resistant and won’t rot over time. Sealed wooden decking can also work and provide a more homely, rustic appeal to your outdoor shower.”
Drainage
It’s important to keep the drainage system efficient to prevent a build-up of water, so try installing your shower on a gradient to keep residue water and puddles to a minimum. The water should also drain away from the house’s structure to prevent any damage.
It can be suitable to let your waterfall directly into the soil, however, this can cause a build-up of water and is not recommended for heavy clay soils. Therefore, most outdoor showers use dry wells to drain the water into the ground and easily disperse the flow of water. Dry wells are essentially a layer of gravel that the wastewater filters through and should be around 4 feet deep and 16 inches beyond the shower perimeter to ensure efficient drainage.
What’s the Best Shower to Use?
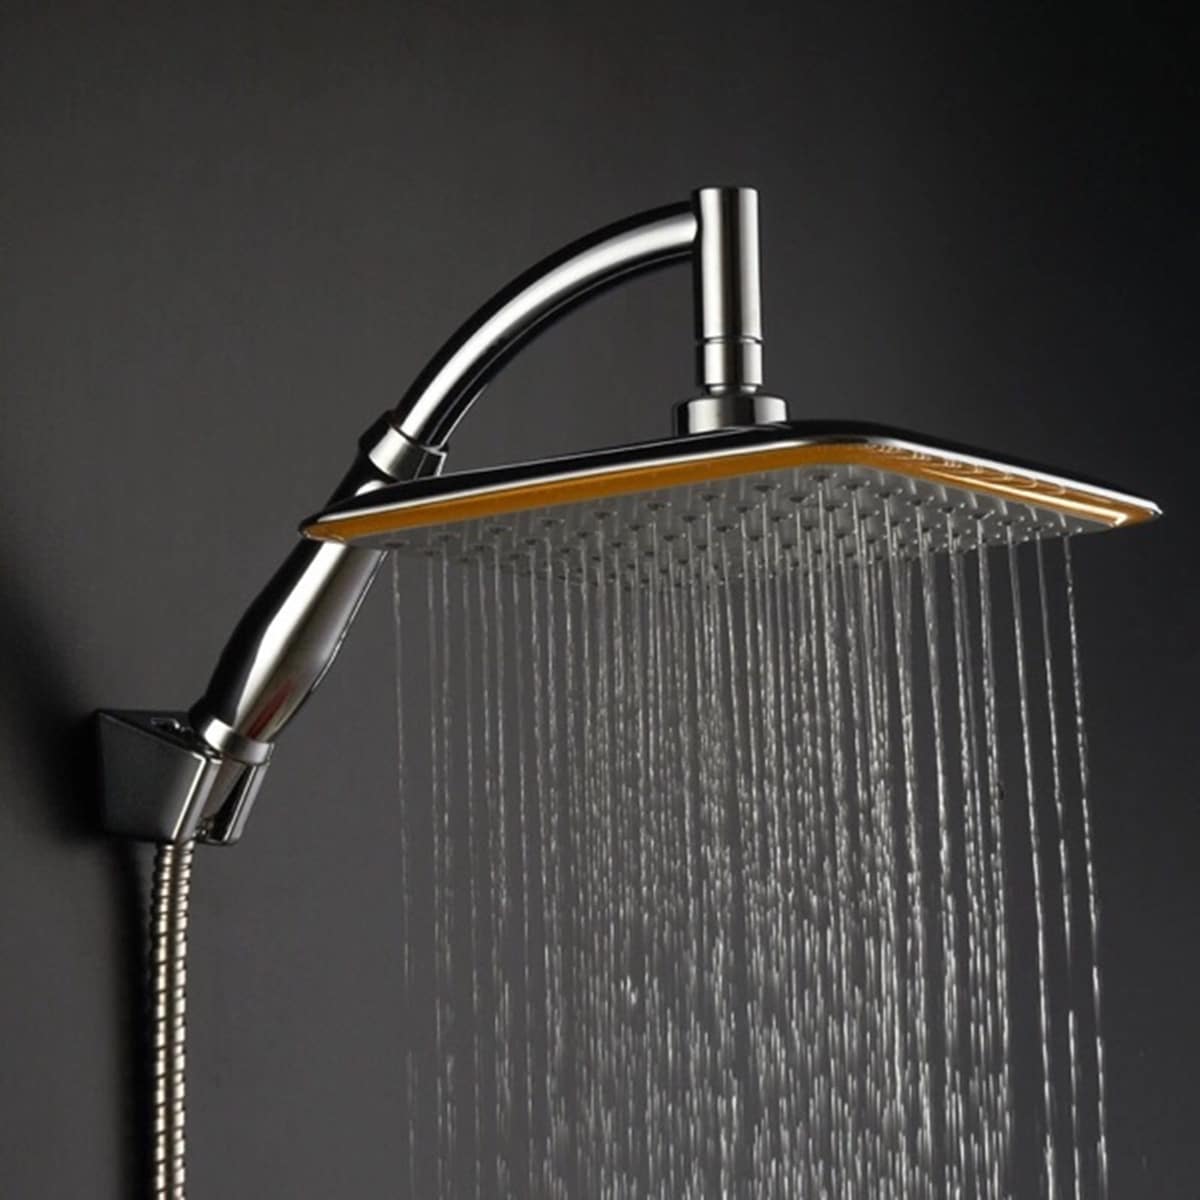
Shower rail kits are a great option for outdoor showers as they’re easy to operate, adjustable, and suitable for low budgets. We suggest going for a stainless steel finish as this is more robust than matt black or brass and will resist rust and wear & tear from various weather conditions.
A shower handset is a great accessory for an outdoor shower and can help when rinsing things down, whether it’s a pet, muddy boots, or any sandy equipment if you happen to live near a beach. You should also aim to install your shower as close to your house as possible, to ensure the plumbing work is more straightforward.
Water Pressure
It’s worth checking if you have high enough water pressure to install an outdoor shower, as not all showers will work in every home. If you have low water pressure, there are things you can do to improve it. Firstly, ensure your shower head is clean and not full of limescale which could be preventing some of the nozzles from carrying water. You can also install flow regulators or a shower pump if you need higher pressure.
However, the best option to increase your water pressure is by choosing a water-saving shower head; these infuse air and water, so still, ensure a powerful and efficient flow of water whilst keeping costs down. Take a look at our blog exploring water-saving shower heads here.
8 Things to Consider Before Designing an Outdoor Shower
1. Determine How You Will Use Your Outdoor Shower
Use dictates design. Before you start drawing plans and selecting materials for your outdoor shower, think about how you will use the space daily. Will you jump in the shower to rinse off from the pool, clean up after gardening, or refresh after working out? Will you be rinsing off in your swimwear or embracing a complete shower experience? If you have pets or kids, you may want to use the space to clean them up after playing outdoors to keep your home interior clean. Maybe you should even consider adding a dog wash station to the design. Determining your needs will help you narrow down location, size, and materials.
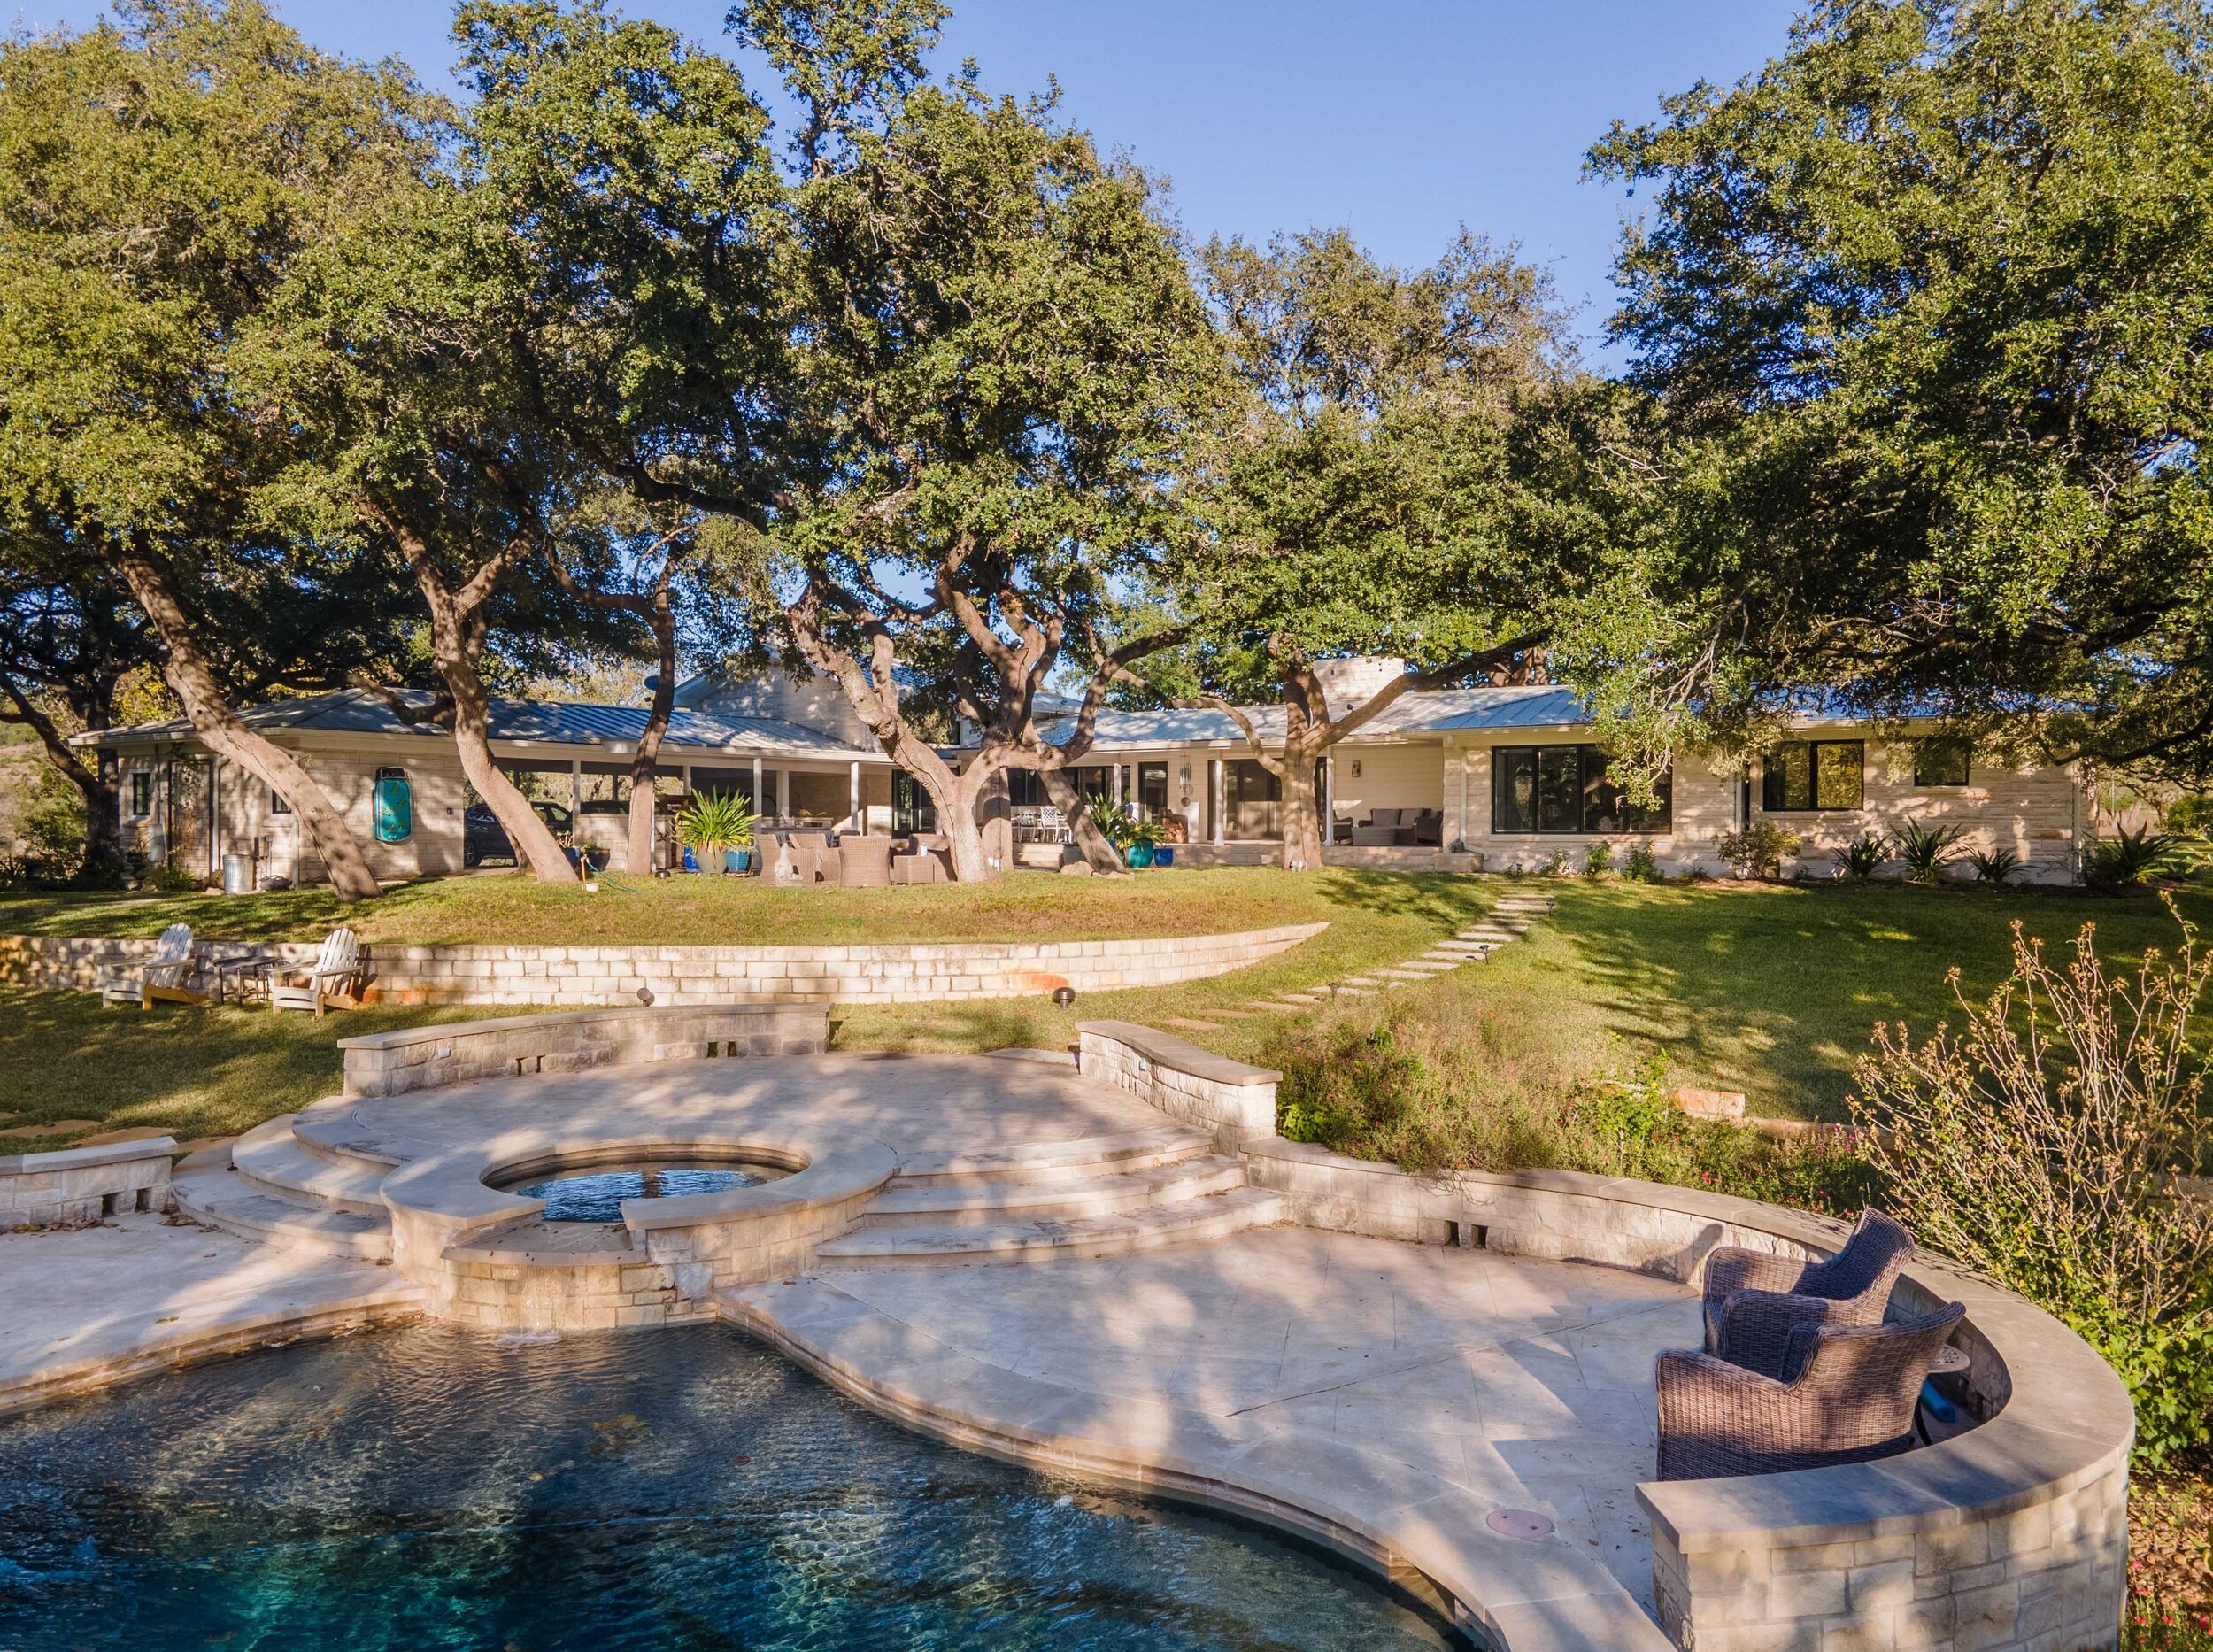
Pool By DK Studio
2. Choose an Outdoor Shower Style
Once you know how you will use your outdoor shower, you can choose a design style. You could design a private cabana, an open-air shower, or something in between with partial privacy. When making aesthetic material selections, aim to match the architectural style of your home for a cohesive look. While you may have loved the Mediterranean tile in the outdoor shower you saw on vacation, it may not coordinate with your cottage-style home.
3. Pick an Accessible Outdoor Shower Location
Typically, homeowners opt to place their outdoor showers in back or side yards adjacent to the main house. However, your desired use of the outdoor shower will have the biggest impact on location. No matter where you choose to install your outdoor shower, create an accessible pathway. The last thing you want is to shower off and then get muddy feet walking across the lawn!

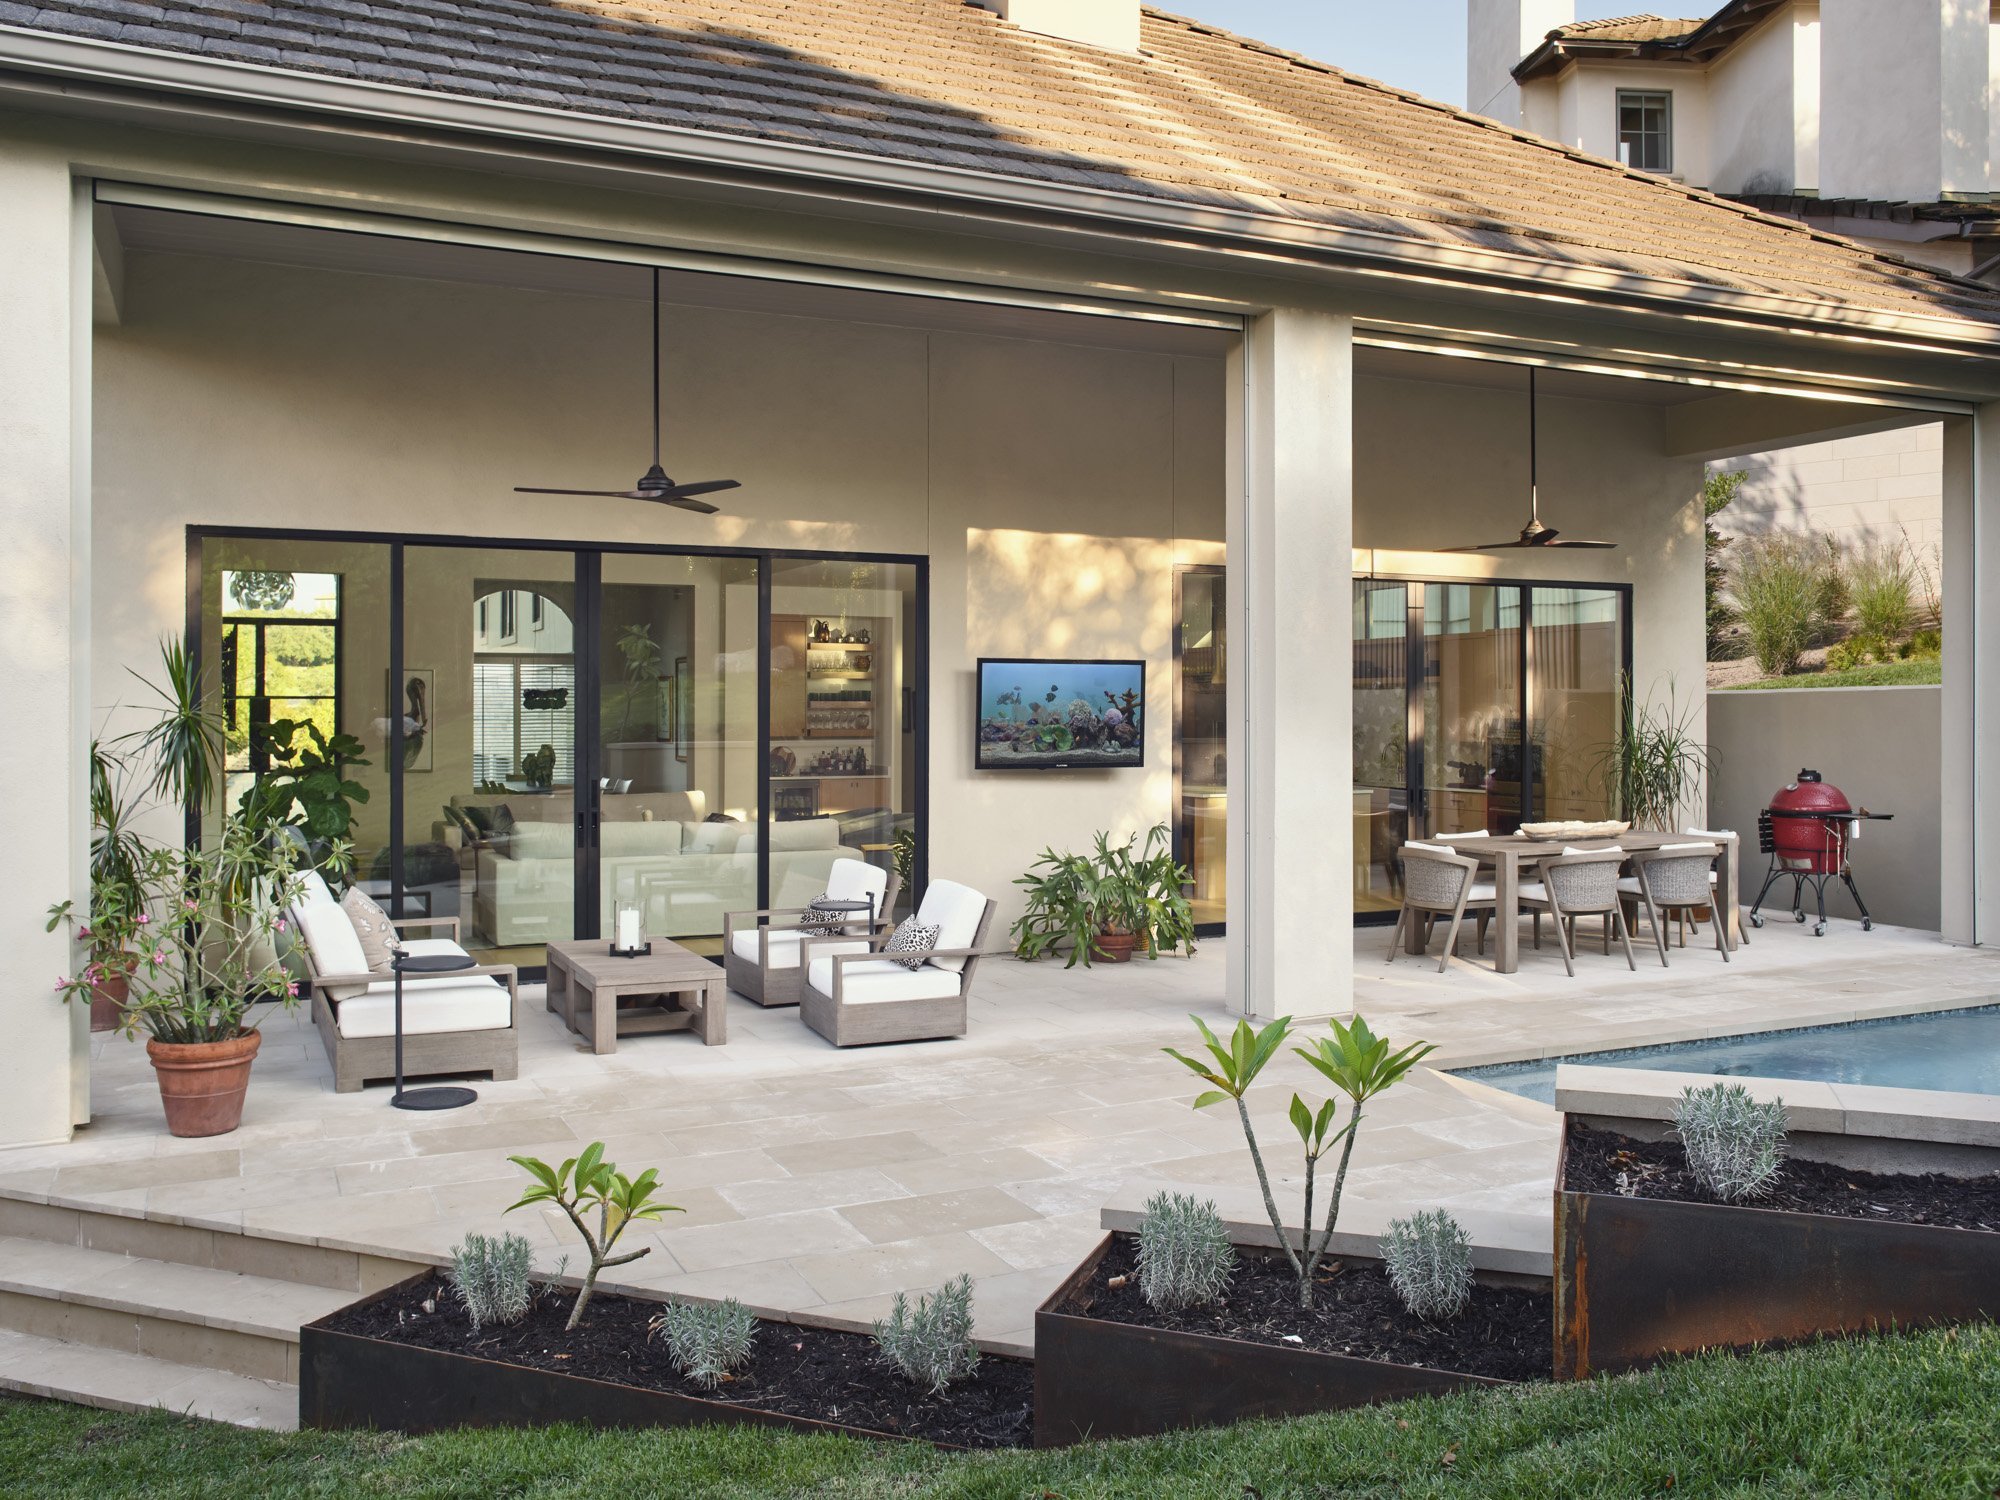
Pool and Spa By DK Studio
Here are our top outdoor shower locations to consider:
-
Along the side of the home
-
Near a hot tub or spa
-
Adjacent to a primary bedroom
-
Behind a gardening shed
-
Outside a cabana
-
Close to the pool
-
Near a workshop
-
Off a mudroom
-
On a boat dock
-
Next to a home gym
4. Consider Plumbing Access
Plumbing may impact where you decide to install your outdoor shower. While you can run plumbing to any point on your property, installing the shower near existing plumbing lines will be more cost-effective. For this reason, most homeowners install their outdoor showers on the back or side exterior walls. Don’t forget about drainage! Install a shower drain or create a drainage slope into the garden to prevent flooding. No one likes showering while standing in a puddle.
5. Don’t Forget About Privacy
Some people aren’t shy and wouldn’t think twice about showering out in the open. However, others are more modest. When designing your outdoor shower, consider privacy and assume that your guests will want to take their shower behind a privacy screen. Consider the shower location, views, and neighbors. Typically, five-foot-tall walls provide adequate privacy. Consider building slatted wood or reed screens or creating a wall of hedges for a more natural feel.
6. Select Weather Resistant Materials
Since your shower is living outdoors, you need to select weather-resistant materials that will stand up to the elements. Evaluate your material selections and ensure they are approved for outdoor use. Non-slip tile, pressure-treated wood, stone, and natural plantings are great options for flooring and privacy walls. Make sure to consider the feel of the materials. For example, wood decking will feel much cooler on the feet than a concrete pad during the hot summer months! For hardware and fixtures, stay away from plastics or metals that can tarnish. Instead, opt for a showerhead rated for outdoor use. Marine-grade stainless steel is a great option. Prevent mold and mildew growth by designing a space with good air circulation.
7. Add Homey Comforts
Just because it’s an outdoor shower doesn’t mean it can’t be luxurious. Add homey comforts like a bench, shower nook, and towel rack to create an easily accessible and comfortable experience for guests. You may even consider adding a mirror, small counter, and sink.
8. Make It Environmentally Friendly
You enjoy the outdoors, so design an outdoor shower that’s environmentally friendly! Create proper drainage to prevent yard flooding and erosion over time. If you plan to take a full shower outdoors, stock your shower with biodegradable soaps to protect native foliage. You may even consider adding a water collection system to water your lawn.
Outdoor Shower Benefits to Consider
Outdoor showers are convenient and beautiful additions to any backyard. Here are our Austin architects’ top three outdoor shower benefits!

Pool and Patio By DK Studio
Provides an Exterior Cleanup Area
Outdoor showers provide an exterior cleanup area, which is great when you don’t want to track dirt and grime through your home. With an outdoor shower, you can clean up after swimming, gardening, or working out.
Adds an Extra Shower For Guests
If you’re running short on space inside, installing an outdoor shower provides an extra shower for guests — or at least the guests who embrace the outdoors. Your outdoor shower can serve as an additional place to clean up when all the interior bathrooms are occupied.


