A Step-by-Step Guide on Replacing a Water Heater Element
Knowing how to replace a water heater element can save you money, and it’s easier than you may think.
Identifying Heating Element Issues:
If you’re experiencing hot water problems, it could be a sign that your heating element needs replacement.
- Signs of Trouble: Look out for running out of hot water, slow recovery times, or no hot water at all.
- Consider the Age: If your water heater is nearing its expected service life of 8 to 12 years, it may be more cost-effective to replace the unit entirely.
Determining the Need for Professional Help:
While the replacement process can be DIY, it’s important to assess your comfort level with electrical and water work.
- Safety First: If you’re not confident or comfortable, it’s recommended to call a professional plumber for assistance.
Steps to Replace a Water Heater Element:
Here’s a breakdown of the process to help you replace your heating element successfully.
-
Troubleshooting and Preparation:
- Check the Circuit Breaker: Ensure the circuit breaker is not tripped or accidentally turned off.
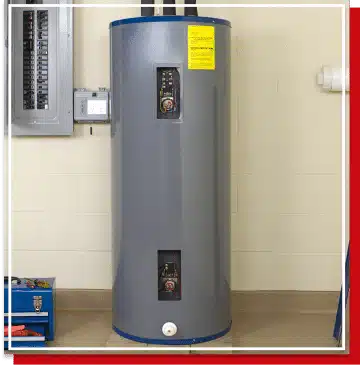
- Locate the Reset Button: Look for the reset button inside the upper access panel above the thermostat. If pressed, it may indicate a heating element issue.
- Test for Continuity: Use a multimeter to check if there’s continuity in the heating element. If not, it needs replacement.
-
Purchasing the Right Heating Element:
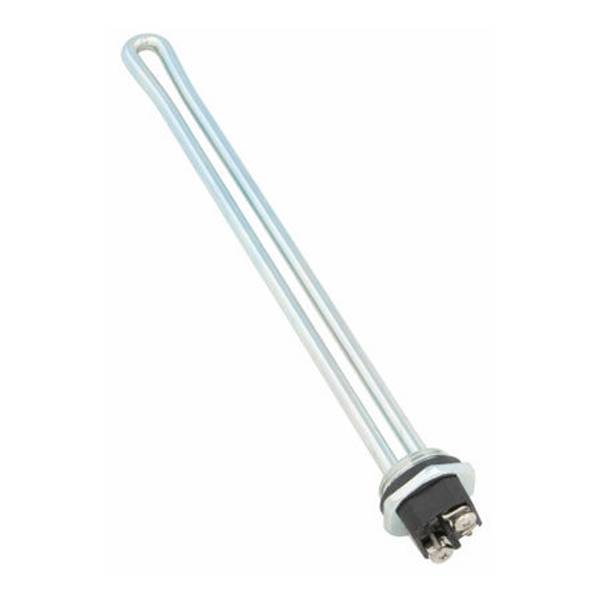
- Types of Elements: Understand the two main design styles – Screw-in and Flange. Choose the appropriate type for your water heater.
- Voltage, Wattage, and Density: Replace the old element with the same voltage, wattage, and consider the density type (high, low, or extra-low).
-
Replacement Process:
- Power and Water Shut-Off: Turn off the power at the circuit breaker and close the cold-water inlet valve. Open a hot water faucet to allow air into the tank.
- Drain the Tank: Connect a garden hose to the drain valve, drain the tank partially, and close the valve.
- Access Panel Removal: Remove the upper and lower access panels to access the heating elements.
- Inspect and Remove the Old Element: Check wiring for damage, then use an element socket wrench to remove the old heating element.
- Install the New Element: Attach a new rubber gasket to the new element, insert it into the tank, and tighten it with the element wrench. Connect the wires securely.
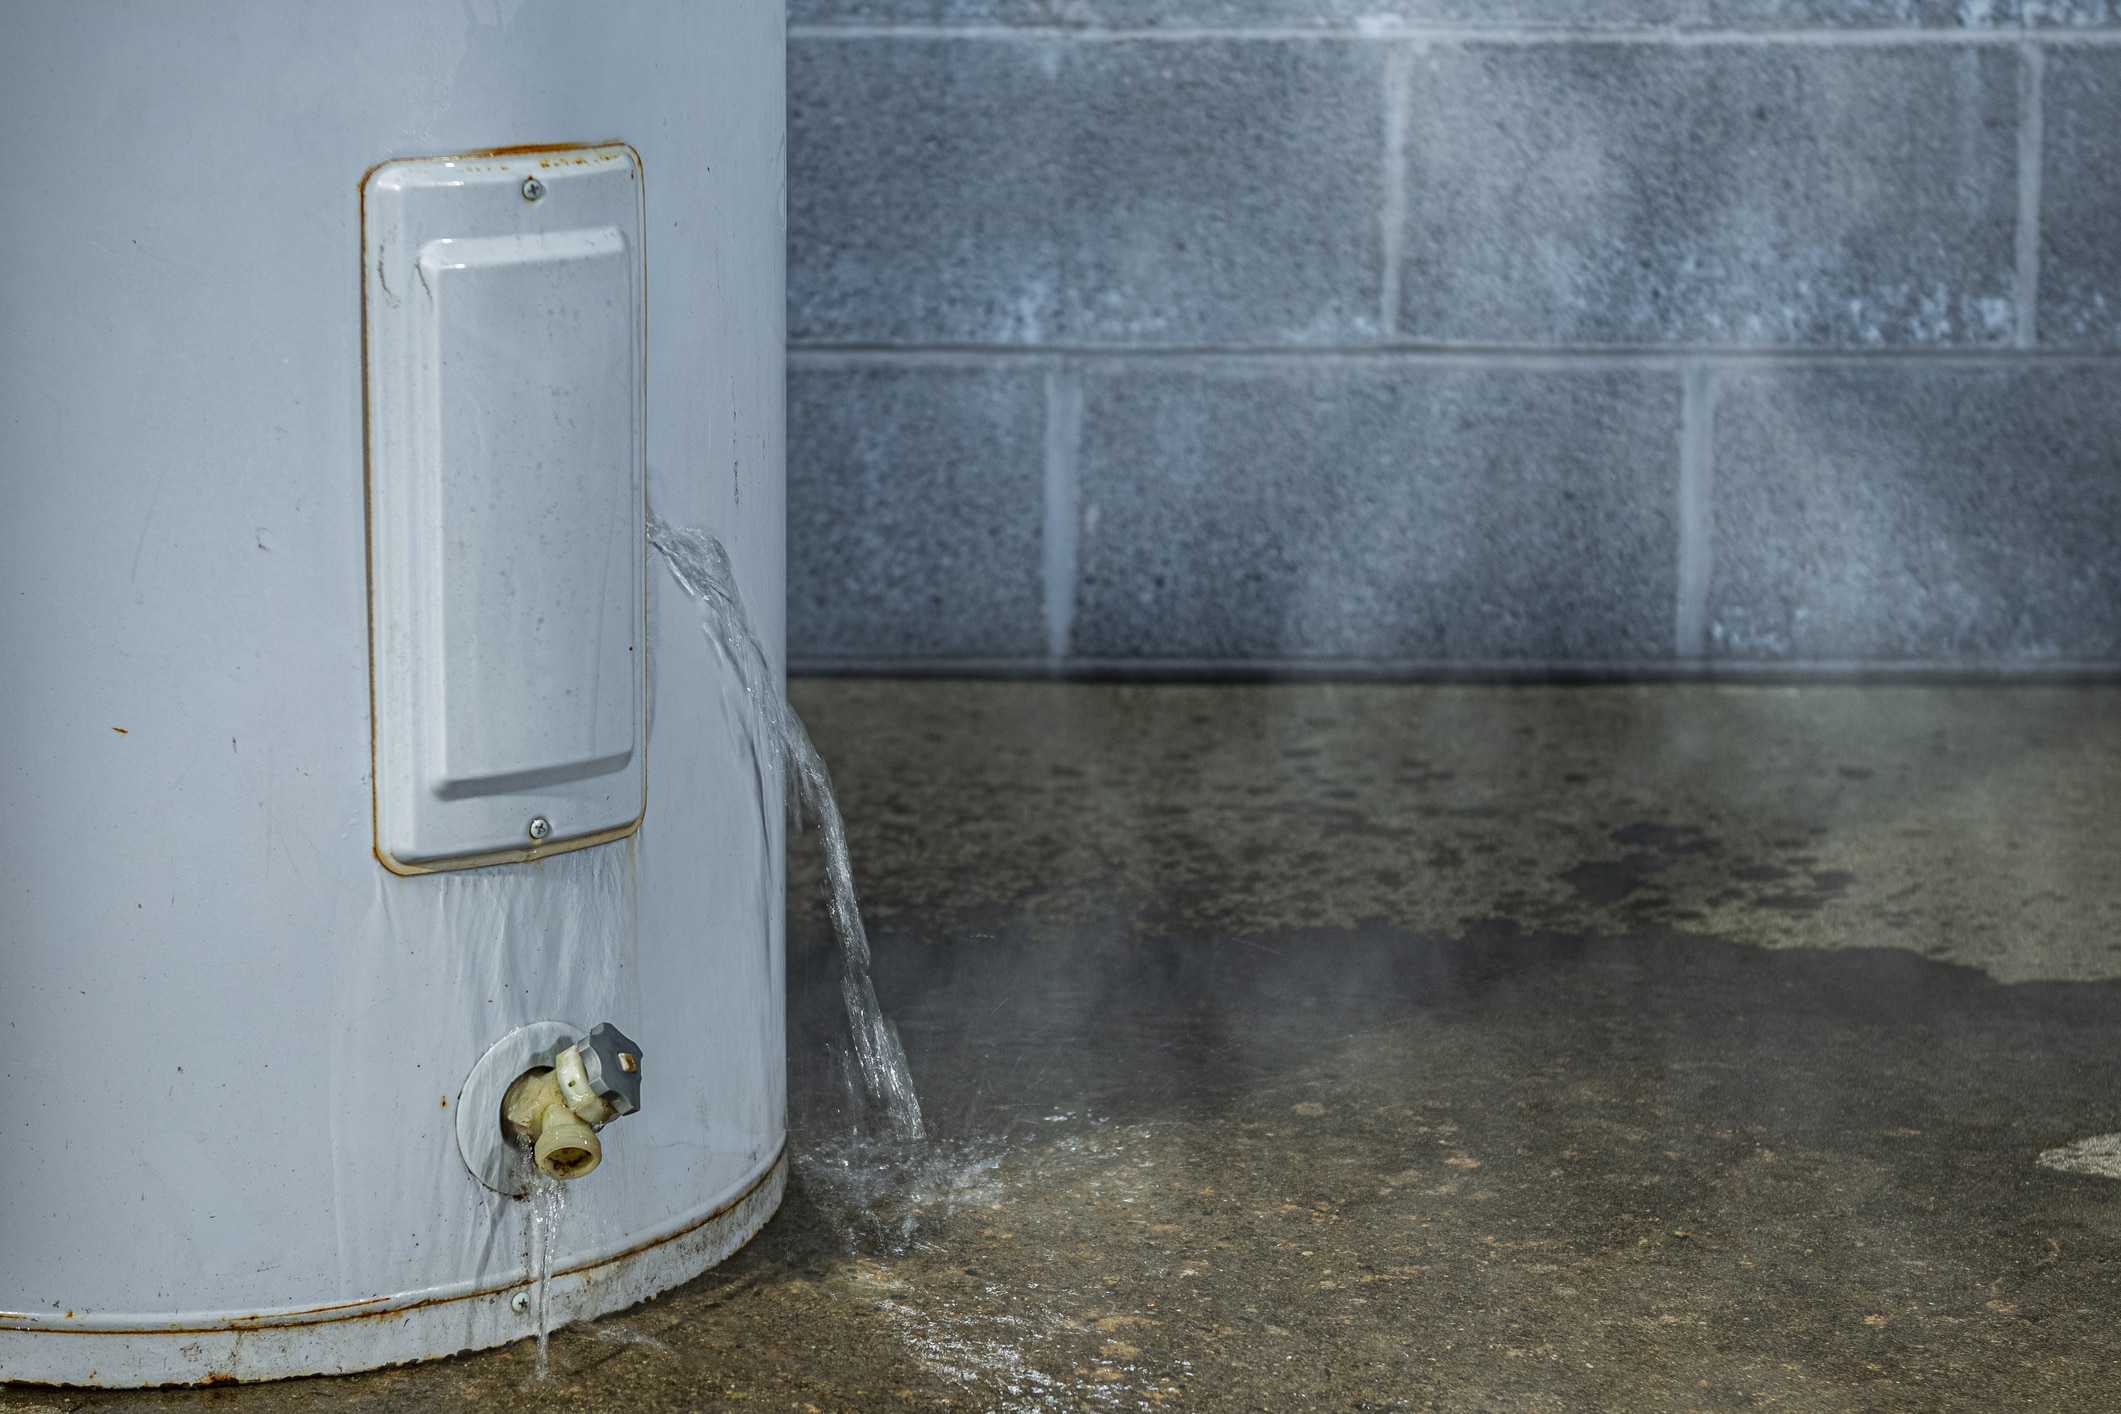
- Refill the Tank: Close the drain valve, turn on the water supply, and check for leaks. Tighten the element if necessary.
Additional Tips for Troubleshooting:
After replacing the heating element, there are a few extra steps to follow.
- Checking for Leaks: Remove the access cover on the front of the tank, inspect for leaks, and tighten the element if needed.
- Faucet Sputtering: It’s normal for household hot water faucets to sputter temporarily after changing the heating element.
With this step-by-step guide, you can confidently replace your water heater element. Remember to prioritize safety and seek professional help if needed. By following these instructions, you can save money and restore your hot water supply efficiently. For any further assistance or expert guidance, contact a professional plumber or visit our website at My Georgia Plumber for more information.
Happy fixing, and enjoy your hot showers!
Best regards,
The team at My Georgia Plumber


